【前言】
由于stm32l562在touchgfx中没有touchgfx的示例,因此需要自己移植touchgfx工程。我查找了全网,好象都没有移植成功的分享。
【移植步聚】
1、驱动好lcd屏,我在上篇的文章已经驱动好了:https://bbs.21ic.com/icview-3454182-1-1.html
2、打开stm32cubemx【注】需要先安装后cube-touchgfx包。使能touhcgfx。
3、配置touhcgfx参数如下:

4、开启一个定时器TIM7,使用他的中断事件给touchgfx提供心跳包。
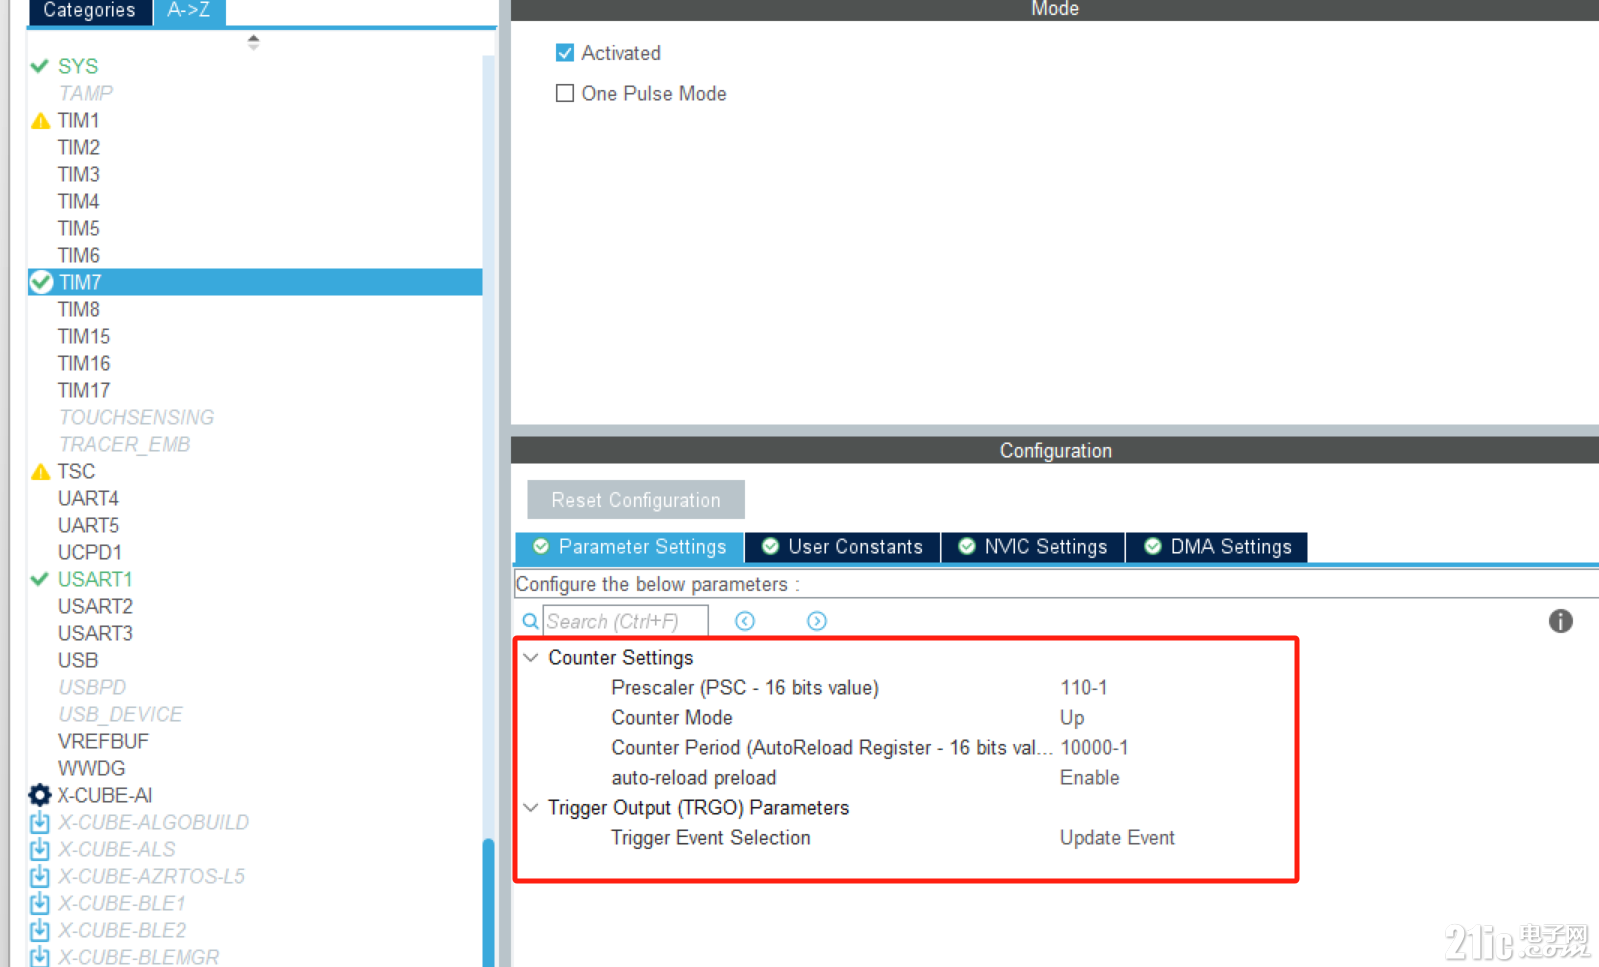
同时开启中断。
5、使用stm32cubemx重新生成工程后,在目录:\pro\uart\TouchGFX下面打开touchgfx工程:

6、为了测试,创建静态屏如下:
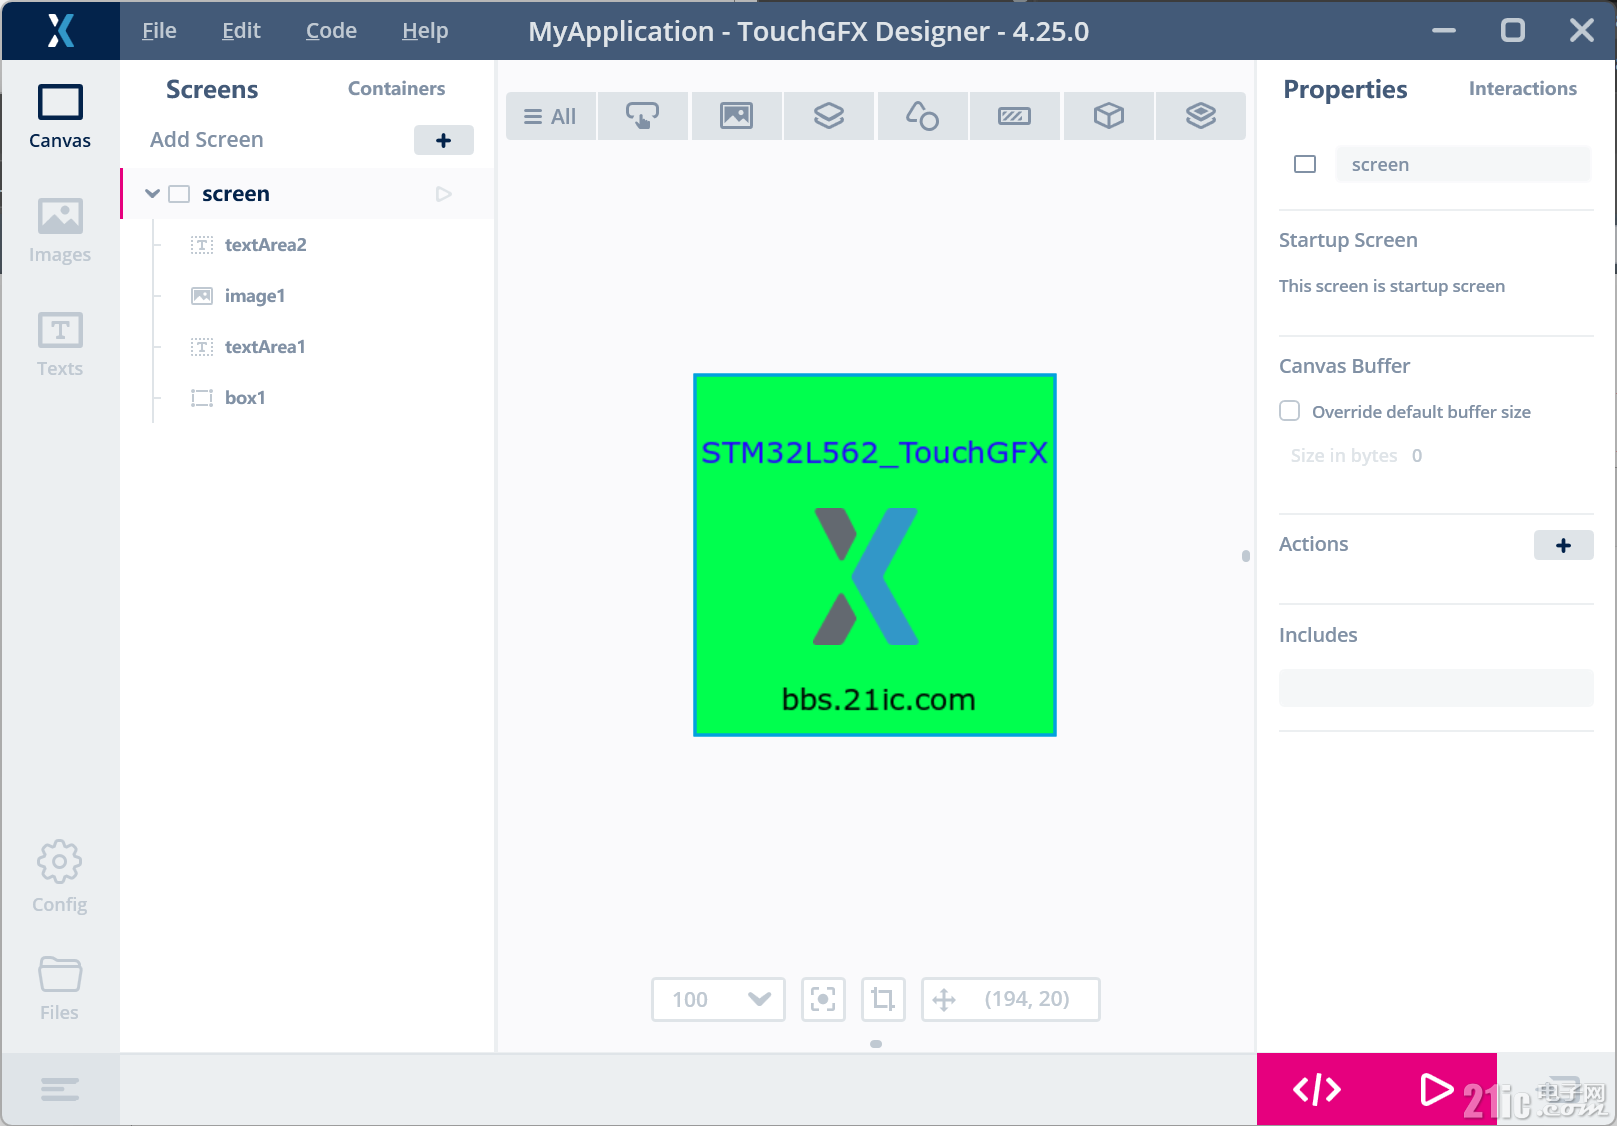
7、生成代码后进入keil进行用户代码添加。
8、打开TouchGFXHAL.cpp文件,在前面添加lcd的驱动头文件:
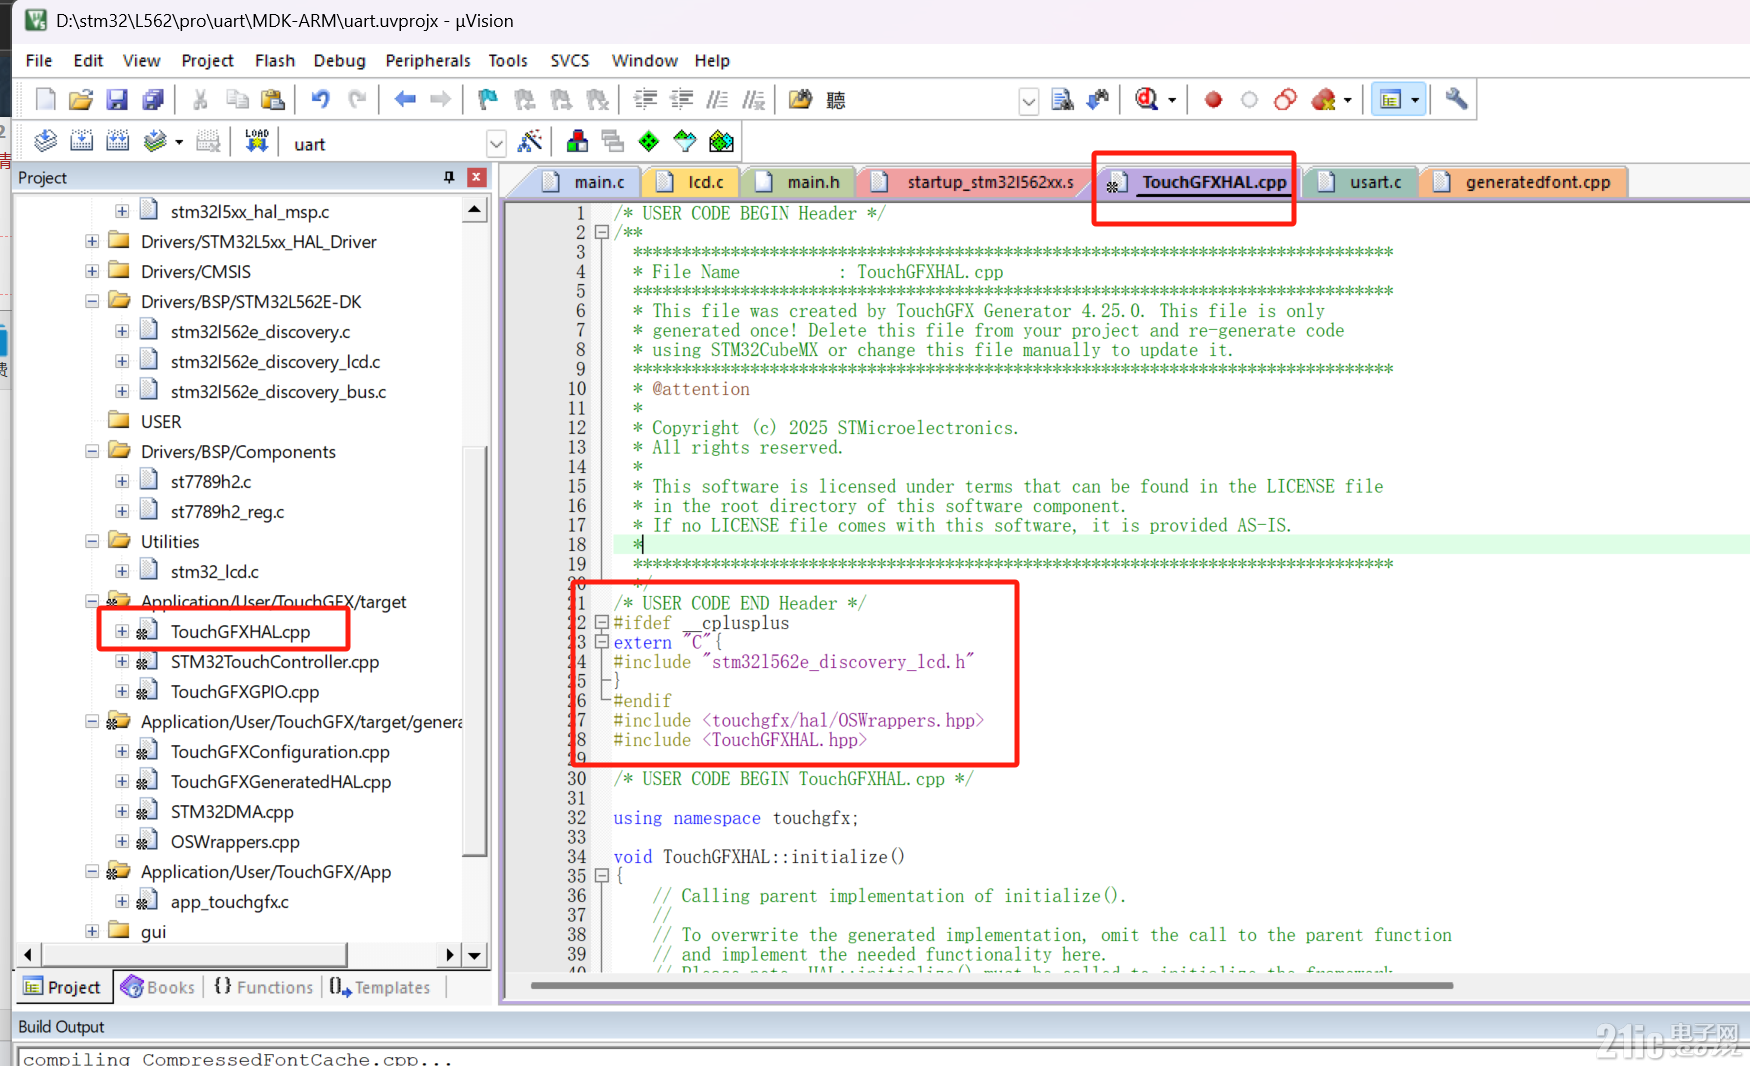
- #ifdef __cplusplus
- extern "C"{
- #include "stm32l562e_discovery_lcd.h"
- }
- #endif
- #include <touchgfx/hal/OSWrappers.hpp>
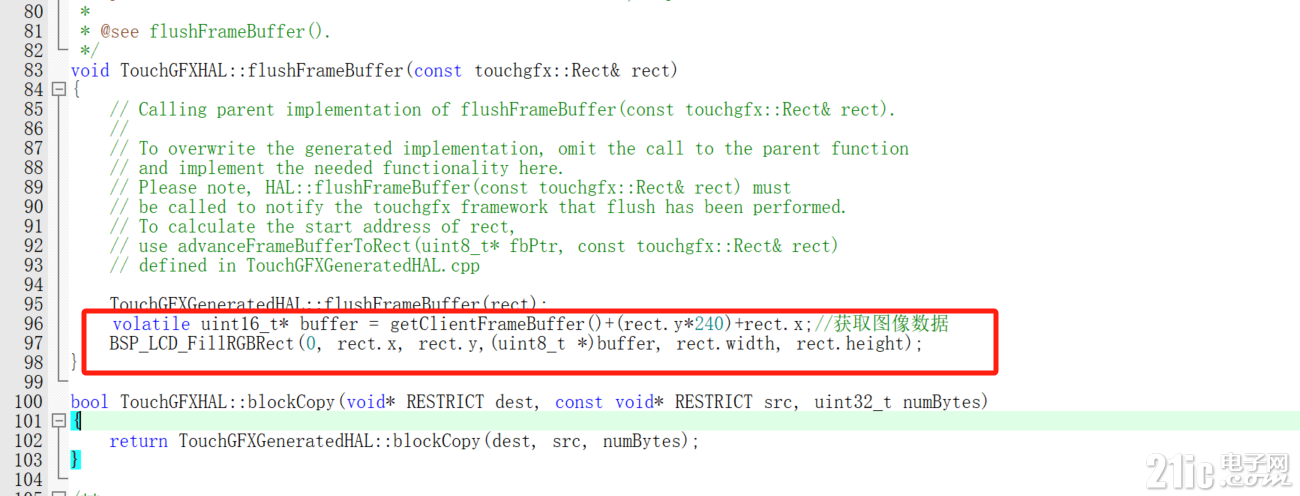
- void TouchGFXHAL::flushFrameBuffer(const touchgfx::Rect& rect)
- {
- TouchGFXGeneratedHAL::flushFrameBuffer(rect);
- volatile uint16_t* buffer = getClientFrameBuffer()+(rect.y*240)+rect.x;//获取图像数据
- BSP_LCD_FillRGBRect(0, rect.x, rect.y,(uint8_t *)buffer, rect.width, rect.height);
- }

- extern "C"
- void touchgfxSignalVSync(void)
- {
- HAL::getInstance()->vSync();
- OSWrappers::signalVSync();
- HAL::getInstance()->swapFrameBuffers();
- }

- extern void touchgfxSignalVSync(void);
- void HAL_TIM_PeriodElapsedCallback(TIM_HandleTypeDef *htim)
- {
- if (htim->Instance == TIM7)
- {
- touchgfxSignalVSync();
- }
- }
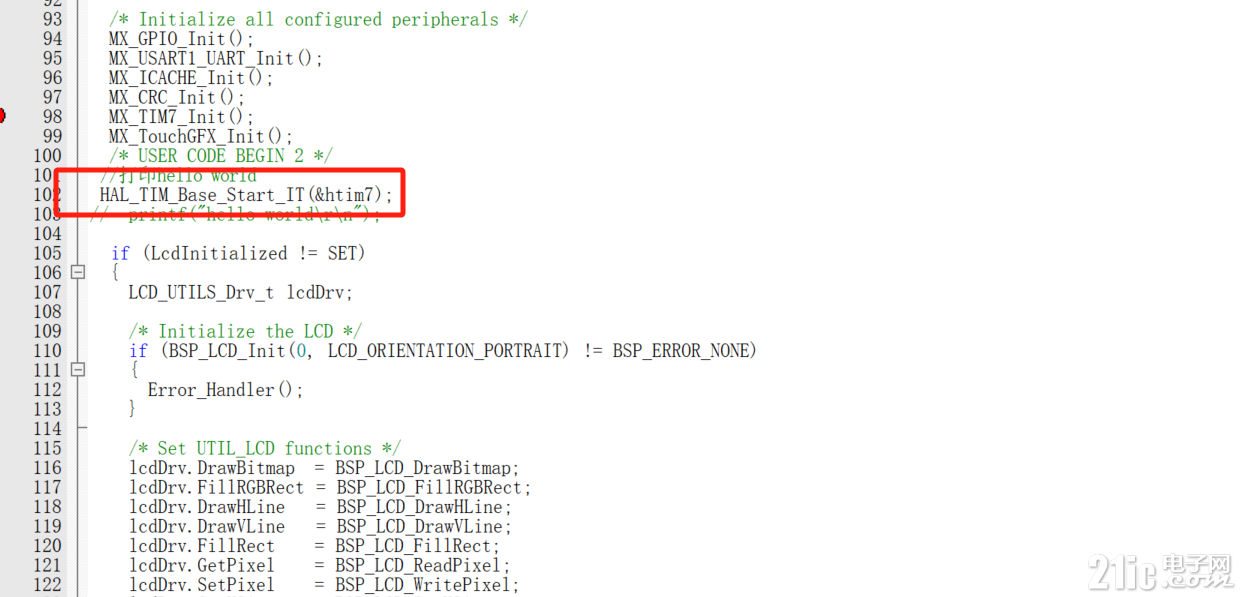
到此调用就结束了。注意,由于touchgfx为c++,因此不能启用c的微库,要不会编译报错。
【实验效果】


【总结】
stm32cube生态非常优秀,只需要几步就可以移植好touchgfx。
|