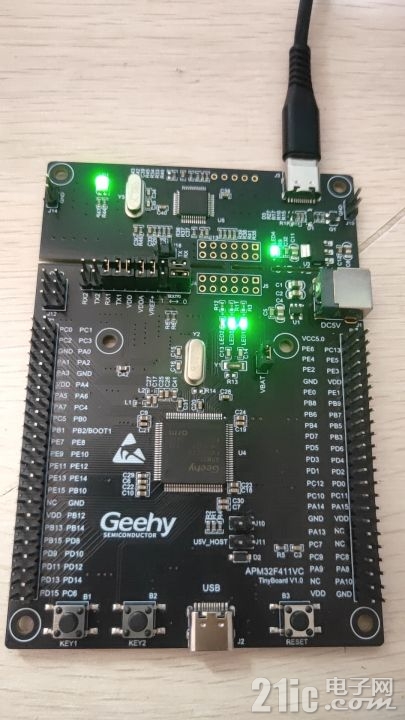
很高兴又可以参与极海MCU的评测了。收到这个APM32F411开发板有些天了,这几天了解了一下这款MCU,顺便下载了相关资料。在极海官网下载资料挺方便的。主要下载了APM32F4的SDK开发包和芯片用户手册和数据手册,开发板原理图。
APM32F411性能还是很不错的。
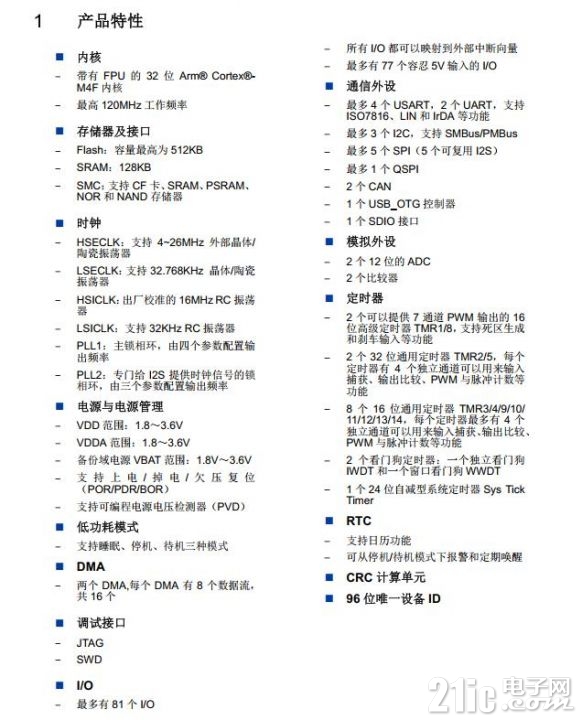
下面是开发板原理。接下来准备点个灯和串口输出测试一下。

在sdk中包含KEIL的pack包,安装之后就可以在keil中选择MCU型号了。
下面就是我重新创建的工程,参考SDK例子。实现了LED,按键和串口驱动。
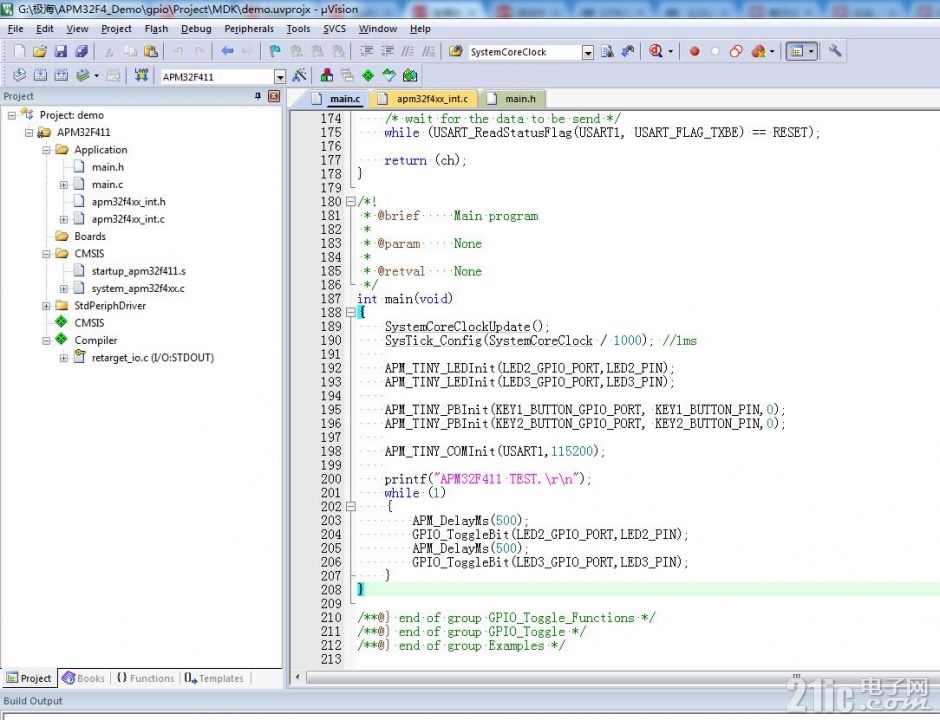
- /** @addtogroup Examples
- @{
- */
- void APM_TINY_LEDInit(GPIO_T* port, uint32_t pin)
- {
- GPIO_Config_T configStruct;
- /* Enable the GPIO_LED Clock */
- RCM_EnableAHB1PeriphClock(RCM_AHB1_PERIPH_GPIOE);
- /* Configure the GPIO_LED pin */
- GPIO_ConfigStructInit(&configStruct);
- configStruct.pin = pin;
- configStruct.mode = GPIO_MODE_OUT;
- configStruct.speed = GPIO_SPEED_50MHz;
- GPIO_Config(port, &configStruct);
- }
- void APM_TINY_PBInit(GPIO_T* port, uint32_t pin, uint32_t Button_Mode)
- {
- GPIO_Config_T GPIO_configStruct;
- EINT_Config_T EINT_configStruct;
- /* Enable the BUTTON Clock */
- RCM_EnableAHB1PeriphClock(RCM_AHB1_PERIPH_GPIOA);
- /* Configure Button pin as input floating */
- GPIO_ConfigStructInit(&GPIO_configStruct);
- GPIO_configStruct.mode = GPIO_MODE_IN;
- GPIO_configStruct.pin = pin;
- GPIO_configStruct.pupd = GPIO_PUPD_UP;
- GPIO_Config(port, &GPIO_configStruct);
- if (Button_Mode == 1)
- {
- /* Enable the SYSCFG Clock */
- RCM_EnableAPB2PeriphClock(RCM_APB2_PERIPH_SYSCFG);
-
- /* Connect Button EINT Line to Button GPIO Pin */
- SYSCFG_ConfigEINTLine(SYSCFG_PORT_GPIOA, SYSCFG_PIN_0);
- /* Configure Button EINT line */
- EINT_configStruct.line = EINT_LINE_0;
- EINT_configStruct.mode = EINT_MODE_INTERRUPT;
- EINT_configStruct.trigger = EINT_TRIGGER_FALLING;
- EINT_configStruct.lineCmd = ENABLE;
- EINT_Config(&EINT_configStruct);
- /* Enable and set Button EINT Interrupt to the lowest priority */
- NVIC_EnableIRQRequest(EINT0_IRQn, 0x0f, 0x0f);
-
- /* Connect Button EINT Line to Button GPIO Pin */
- SYSCFG_ConfigEINTLine(SYSCFG_PORT_GPIOA, SYSCFG_PIN_1);
- /* Configure Button EINT line */
- EINT_configStruct.line = EINT_LINE_1;
- EINT_configStruct.mode = EINT_MODE_INTERRUPT;
- EINT_configStruct.trigger = EINT_TRIGGER_FALLING;
- EINT_configStruct.lineCmd = ENABLE;
- EINT_Config(&EINT_configStruct);
- /* Enable and set Button EINT Interrupt to the lowest priority */
- NVIC_EnableIRQRequest(EINT1_IRQn, 0x0f, 0x0f);
- }
- }
- void APM_TINY_COMInit(USART_T * com, uint32_t baud)
- {
- GPIO_Config_T GPIO_configStruct;
- USART_Config_T usartConfigStruct;
- GPIO_ConfigStructInit(&GPIO_configStruct);
- if (USART1 == com)
- {
- /* Enable GPIO clock */
- RCM_EnableAHB1PeriphClock(RCM_AHB1_PERIPH_GPIOA);
- RCM_EnableAPB2PeriphClock(RCM_APB2_PERIPH_USART1);
-
- /* Connect PXx to USARTx_Tx */
- GPIO_ConfigPinAF(GPIOA, GPIO_PIN_SOURCE_9, GPIO_AF_USART1);
- /* Connect PXx to USARTx_Rx */
- GPIO_ConfigPinAF(GPIOA, GPIO_PIN_SOURCE_10, GPIO_AF_USART1);
- /* Configure USART Tx as alternate function push-pull */
- GPIO_configStruct.mode = GPIO_MODE_AF;
- GPIO_configStruct.pin = GPIO_PIN_9;
- GPIO_configStruct.speed = GPIO_SPEED_50MHz;
- GPIO_Config(GPIOA, &GPIO_configStruct);
- /* Configure USART Rx as input floating */
- GPIO_configStruct.mode = GPIO_MODE_AF;
- GPIO_configStruct.pin = GPIO_PIN_10;
- GPIO_Config(GPIOA, &GPIO_configStruct);
- }
- else if (USART2 == com)
- {
- RCM_EnableAHB1PeriphClock(RCM_AHB1_PERIPH_GPIOA);
- RCM_EnableAPB1PeriphClock(RCM_APB1_PERIPH_USART2);
-
- /* Connect PXx to USARTx_Tx */
- GPIO_ConfigPinAF(GPIOA, GPIO_PIN_SOURCE_2, GPIO_AF_USART2);
- /* Connect PXx to USARTx_Rx */
- GPIO_ConfigPinAF(GPIOA, GPIO_PIN_SOURCE_3, GPIO_AF_USART2);
- /* Configure USART Tx as alternate function push-pull */
- GPIO_configStruct.mode = GPIO_MODE_AF;
- GPIO_configStruct.pin = GPIO_PIN_2;
- GPIO_configStruct.speed = GPIO_SPEED_50MHz;
- GPIO_Config(GPIOA, &GPIO_configStruct);
- /* Configure USART Rx as input floating */
- GPIO_configStruct.mode = GPIO_MODE_AF;
- GPIO_configStruct.pin = GPIO_PIN_3;
- GPIO_Config(GPIOA, &GPIO_configStruct);
- }
-
- /* USART1 configuration */
- usartConfigStruct.baudRate = baud;
- usartConfigStruct.hardwareFlow = USART_HARDWARE_FLOW_NONE;
- usartConfigStruct.mode = USART_MODE_TX_RX;
- usartConfigStruct.parity = USART_PARITY_NONE;
- usartConfigStruct.stopBits = USART_STOP_BIT_1;
- usartConfigStruct.wordLength = USART_WORD_LEN_8B;
-
- /* USART configuration */
- USART_Config(com, &usartConfigStruct);
- /* Enable USART */
- USART_Enable(com);
- }

接下来只要实现一个int stdout_putchar(int ch)函数即可。
- int stdout_putchar(int ch)
- {
- /* send a byte of data to the serial port */
- USART_TxData(USART1, (uint8_t)ch);
- /* wait for the data to be send */
- while (USART_ReadStatusFlag(USART1, USART_FLAG_TXBE) == RESET);
- return (ch);
- }
- int main(void)
- {
- SystemCoreClockUpdate();
- SysTick_Config(SystemCoreClock / 1000); //1ms
-
- APM_TINY_LEDInit(LED2_GPIO_PORT,LED2_PIN);
- APM_TINY_LEDInit(LED3_GPIO_PORT,LED3_PIN);
-
- APM_TINY_PBInit(KEY1_BUTTON_GPIO_PORT, KEY1_BUTTON_PIN,0);
- APM_TINY_PBInit(KEY2_BUTTON_GPIO_PORT, KEY2_BUTTON_PIN,0);
-
- APM_TINY_COMInit(USART1,115200);
-
- printf("APM32F411 TEST.\r\n");
- while (1)
- {
- APM_DelayMs(200);
- GPIO_ToggleBit(LED2_GPIO_PORT,LED2_PIN);
- APM_DelayMs(200);
- GPIO_ToggleBit(LED3_GPIO_PORT,LED3_PIN);
-
- if(GPIO_ReadInputBit(KEY1_BUTTON_GPIO_PORT, KEY1_BUTTON_PIN) == BIT_RESET)
- {
- printf("APM32F411 Key1 Press.\r\n");
- }
-
- if(GPIO_ReadInputBit(KEY2_BUTTON_GPIO_PORT, KEY2_BUTTON_PIN) == BIT_RESET)
- {
- printf("APM32F411 Key2 Press.\r\n");
- }
- }
- }
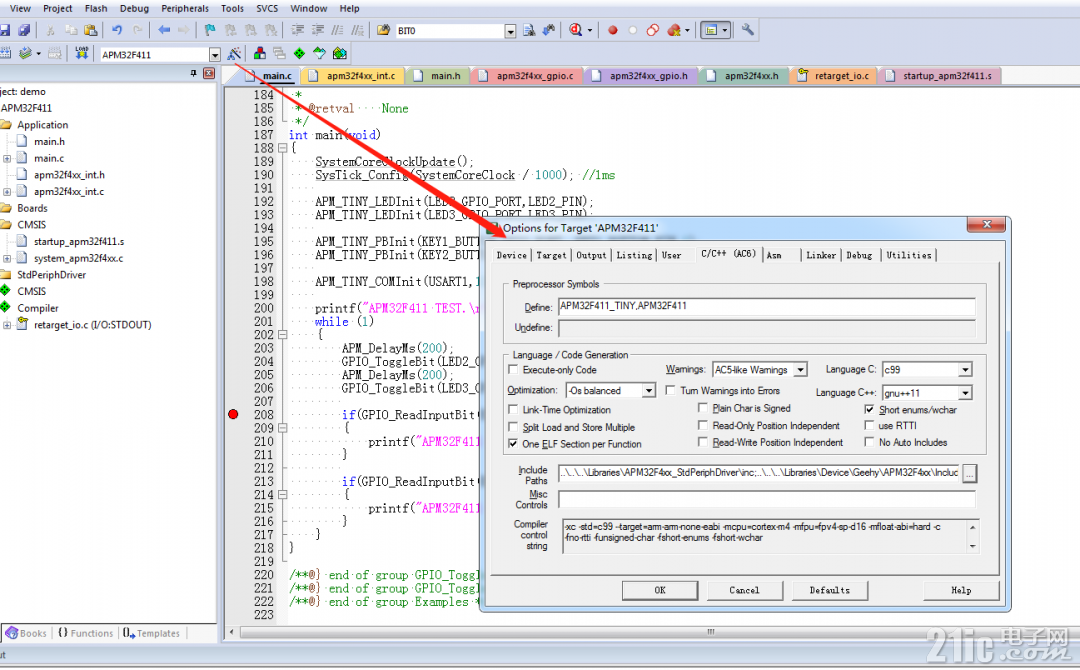
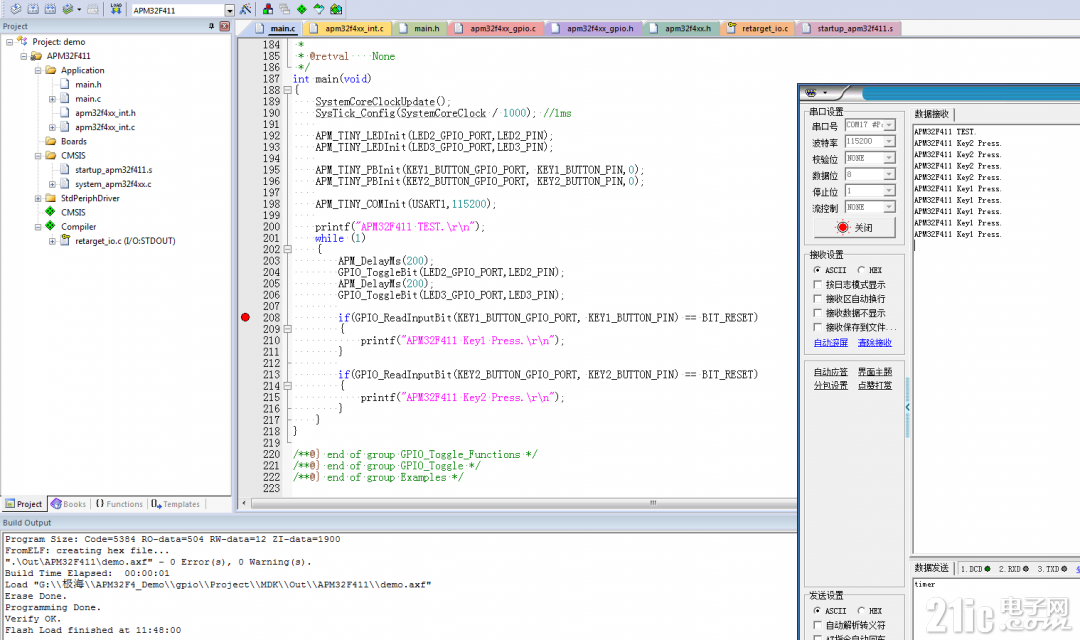
串口输出效果:
|