本帖最后由 flycamelaaa 于 2022-6-16 09:37 编辑
3.2 命令行演示
3.2.1 示例获取
- <p>docker-ubuntu18:~$ mkdir test</p><p>docker-ubuntu18:~$ cd test</p><p>docker-ubuntu18:~$ yoc init</p><p>docker-ubuntu18:~$ yoc install sdk_app_d1 -b v7.5.1</p><p>Start to install components...</p><p>sdk_app_d1 (v7.5.1), clone https://gitee.com/yocop/sdk_app_d1.git ...</p><p>…… (省略) ……</p><p>d1_evb (v7.5.1), clone https://gitee.com/yocop/d1_evb.git ...</p><p>chip_d1 (v7.5.1), clone https://gitee.com/yocop/chip_d1.git ...</p><p>Download components finish.</p><p>docker-ubuntu18:~/test$ ls</p><p>boards components solutions</p>
复制代码
3.2.2 编译
- <p>docker-ubuntu18:~/test/solutions$ cd haasui_falcon_demo</p><p>docker-ubuntu18:~/test/solutions/haasui_falcon_demo$ make</p><p>…… (省略) ……</p><p>LINK out/haasui_falcon_demo/yoc.elf</p><p>INSTALL yoc.elf</p><p>riscv64-unknown-elf-objdump -d out/haasui_falcon_demo/yoc.elf > yoc.asm</p><p>Generating yoc.bin</p><p>scons: done building targets.</p><p>YoC SDK Done</p><p>[INFO] Create bin files</p><p>update /home/shuta.lst/work/aone/yoc/dasai3/solutions/haasui_falcon_demo/data/resources</p><p>[2022-02-23 16:12:39] Start to sign images with key:def_otp</p><p>[2022-02-23 16:12:39] Sign [prim] with [def_otp]</p><p>[2022-02-23 16:12:39] rsa verIFy ok....</p><p>[2022-02-23 16:12:39] Sign prim ok.</p><p>----------------------------------------------------------------</p><p> boot0, 0, 0, 0x00000000, 0x0000c000, 0x0000c000, boot0</p><p> gpt, 0, 0, 0x0000c000, 0x00004000, 0x00010000, gpt</p><p> boot, 0, 0, 0x00010000, 0x00025000, 0x00035000, boot</p><p> imtb, 0, 0, 0x00035000, 0x00002000, 0x00037000, imtb</p><p> prim, 1, 0, 0x00037000, 0x00360000, 0x00397000, prim</p><p> lfs, 0, 0, 0x00397000, 0x00452000, 0x007e9000, lfs</p><p> misc, 0, 0, 0x007e9000, 0x00013000, 0x007fc000</p><p> kv, 0, 0, 0x007fc000, 0x00004000, 0x00800000</p><p> boot0, 49152 bytes</p><p> gpt, 8192 bytes</p><p> boot, 143896 bytes</p><p> prim, 1982620 bytes</p><p> lfs, 4530176 bytes</p><p> imtb, 8192 bytes</p><p>----------------------------------------------------------------</p><p>Create yoc_rtos_8M.img in out directory Success!</p>
复制代码
3.2.3 下载
可以通过3.1.3的下载方式进行烧录,也可以通过命令行进行烧录。
命令行烧录之前要先连接好T-HeaddebugServer。然后在终端输入make flashall命令:
- <p>lh@lh:~/.../solutions/haasui_falcon_demo > make flashall</p><p>[2022-02-17 10:29:22] I am RISC-V</p><p>Program partition: boot0 address: 0x0, size 49152 byte</p><p>erasing...</p><p>program 00x0000c000, 100%</p><p>Program partition: gpt address: 0xc000, size 8192 byte</p><p>erasing...</p><p>program 00x0000e000, 100%</p><p>Program partition: boot address: 0x10000, size 143896 byte</p><p>erasing...</p><p>program 0x00032000, 100%</p><p>Program partition: imtb address: 0x35000, size 8192 byte</p><p>erasing...</p><p>program 00x00037000, 100%</p><p>Program partition: prim address: 0x37000, size 1966236 byte</p><p>erasing...</p><p>program 0x00217000, 100%</p><p>Program partition: lfs address: 0x397000, size 4530176 byte</p><p>erasing...</p><p>program 00x007e9000, 100%</p><p>lh@lh:~/.../solutions/haasui_falcon_demo ></p>
复制代码
4. 运行
重新上电或按下RST键,系统启动,串口会有以下打印信息,表示系统运行成功。
- <p>(cli-uart)# ###YoC###[Feb 17 2022,10:44:07]</p><p>cpu clock is 1008000000Hz</p><p>display init ok.</p><p>haasui entry here!</p><p>haasui build time: Feb 17 2022, 10:39:48</p><p>[TP] GT9xx init</p><p> </p><p>[TP] start to probe![2, 0x5d]</p><p> </p><p>0X39 0X31 0X31 0X0 0X0</p><p> </p><p>[TP] Found chip gt911</p><p> </p><p>[TP] GT9xx Config version: 0x5C</p><p> </p><p>[TP] GT9xx Sensor id: 0x03</p>
复制代码
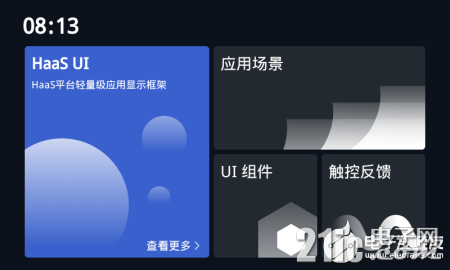
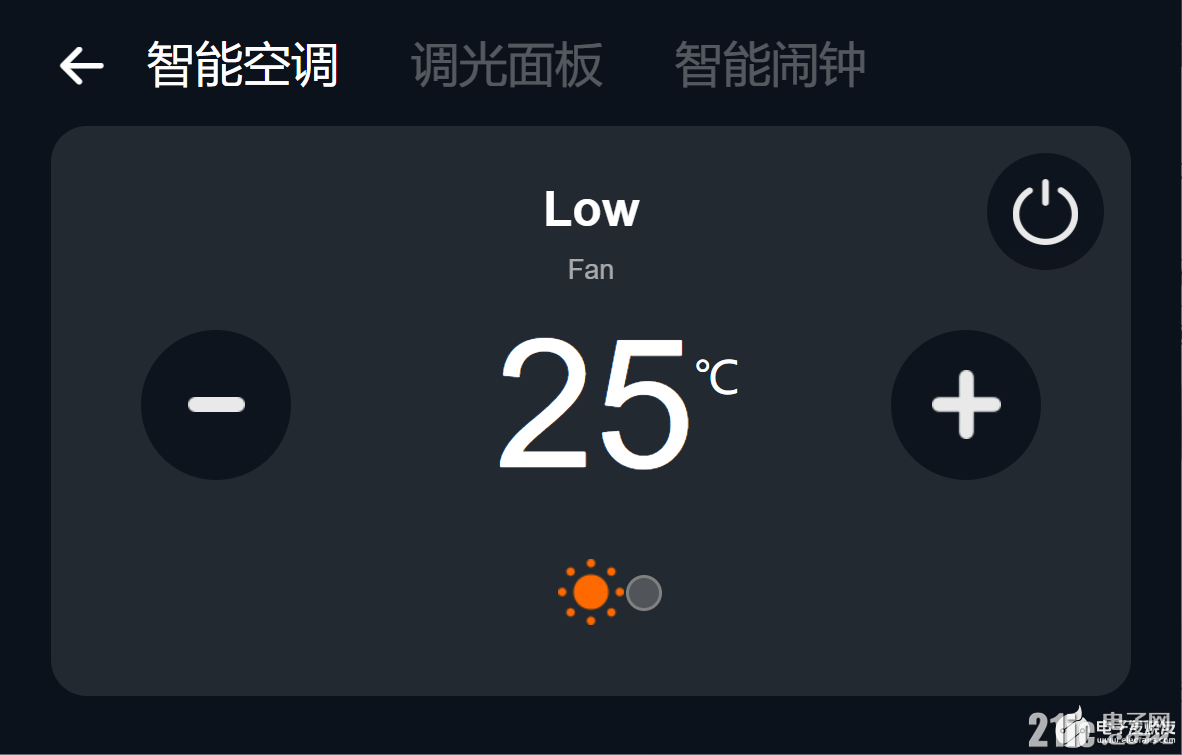
通过外接的屏幕,可以看到界面已经显示出来了。通过触摸屏操作可以切换界面。


5. 总结
本文介绍了DOCK开发板的HaaS UI Falcon示例,主要涵盖了基础控件的使用以及操作。用户可以参考控件的使用方式集成到自己的方案中。
|