|
按键控制蜂鸣器[color=rgba(0, 0, 0, 0.87)] 本文案例代码 下载地址
按键控制蜂鸣器案例代码https://www.aw-ol.com/downloads?cat=24
[color=rgba(0, 0, 0, 0.87)]首先我们搭建电路,如下: [color=rgba(0, 0, 0, 0.87)] [color=var(--md-typeset-a-color)]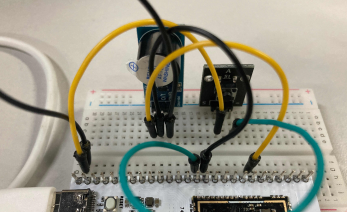 引脚 按键
PA25按键1脚
GND按键3脚
PA29蜂鸣器触发脚
载入方案[color=rgba(0, 0, 0, 0.87)]我们使用的开发板是 R128-Devkit,需要开发 C906 核心的应用程序,所以载入方案选择r128s2_module_c906 code" style="box-sizing: inherit; -webkit-tap-highlight-color: transparent; font-size: inherit; font-family: inherit; background-image: initial; background-position: initial; background-size: initial; background-repeat: initial; background-attachment: initial; background-origin: initial; background-clip: initial; border-width: 0px; border-style: initial; border-color: initial; position: absolute; top: 0.5em; right: 0.5em; z-index: 1; width: 1.5em; height: 1.5em; border-radius: 0.1rem; outline: none; outline-offset: 0.1rem; cursor: pointer; transition: color 0.25s ease 0s;">$ source envsetup.sh $ lunch_rtos 1[color=rgba(0, 0, 0, 0.87)] [color=var(--md-typeset-a-color)]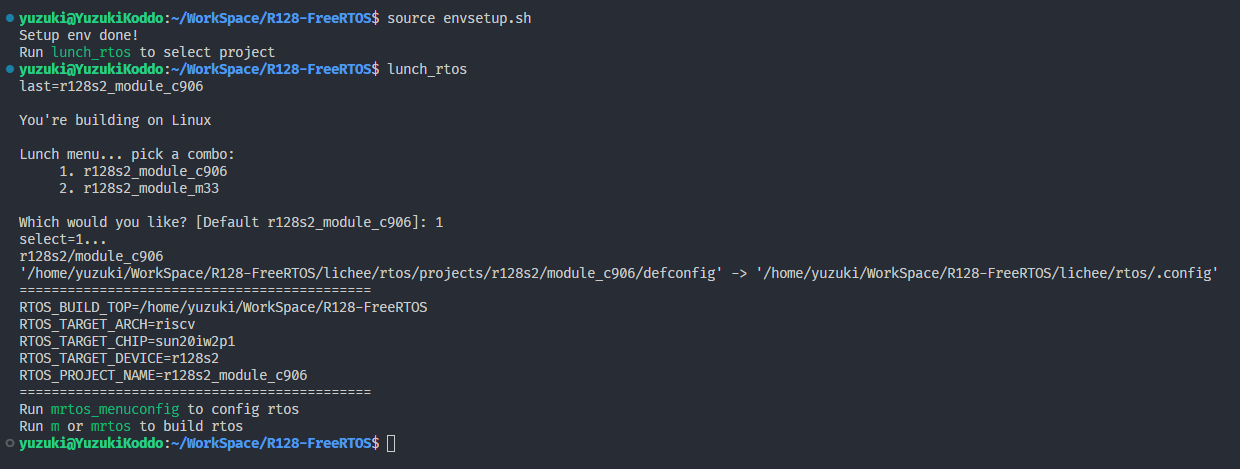 [color=rgba(0, 0, 0, 0.87)]mrtos_menuconfig 找到下列驱动 code" style="box-sizing: inherit; -webkit-tap-highlight-color: transparent; font-size: inherit; font-family: inherit; background-image: initial; background-position: initial; background-size: initial; background-repeat: initial; background-attachment: initial; background-origin: initial; background-clip: initial; border-width: 0px; border-style: initial; border-color: initial; position: absolute; top: 0.5em; right: 0.5em; z-index: 1; width: 1.5em; height: 1.5em; border-radius: 0.1rem; outline: none; outline-offset: 0.1rem; cursor: pointer; transition: color 0.25s ease 0s;">Drivers Options ---> soc related device drivers ---> GPIO devices ---> enable GPIO driver enbale GPIO hal APIs Test command[color=rgba(0, 0, 0, 0.87)] [color=var(--md-typeset-a-color)]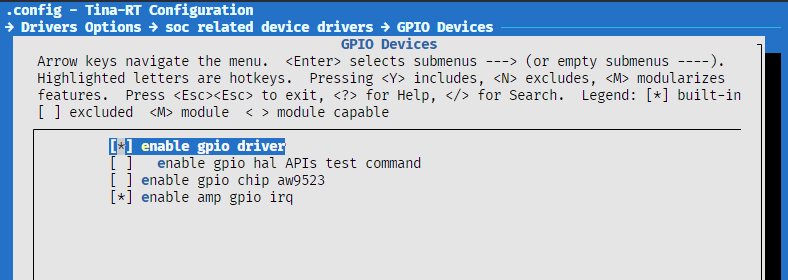 [color=rgba(0, 0, 0, 0.87)]打开你喜欢的编辑器,修改文件:lichee/rtos/projects/r128s2/module_c906/src/main.c [color=rgba(0, 0, 0, 0.87)] [color=var(--md-typeset-a-color)]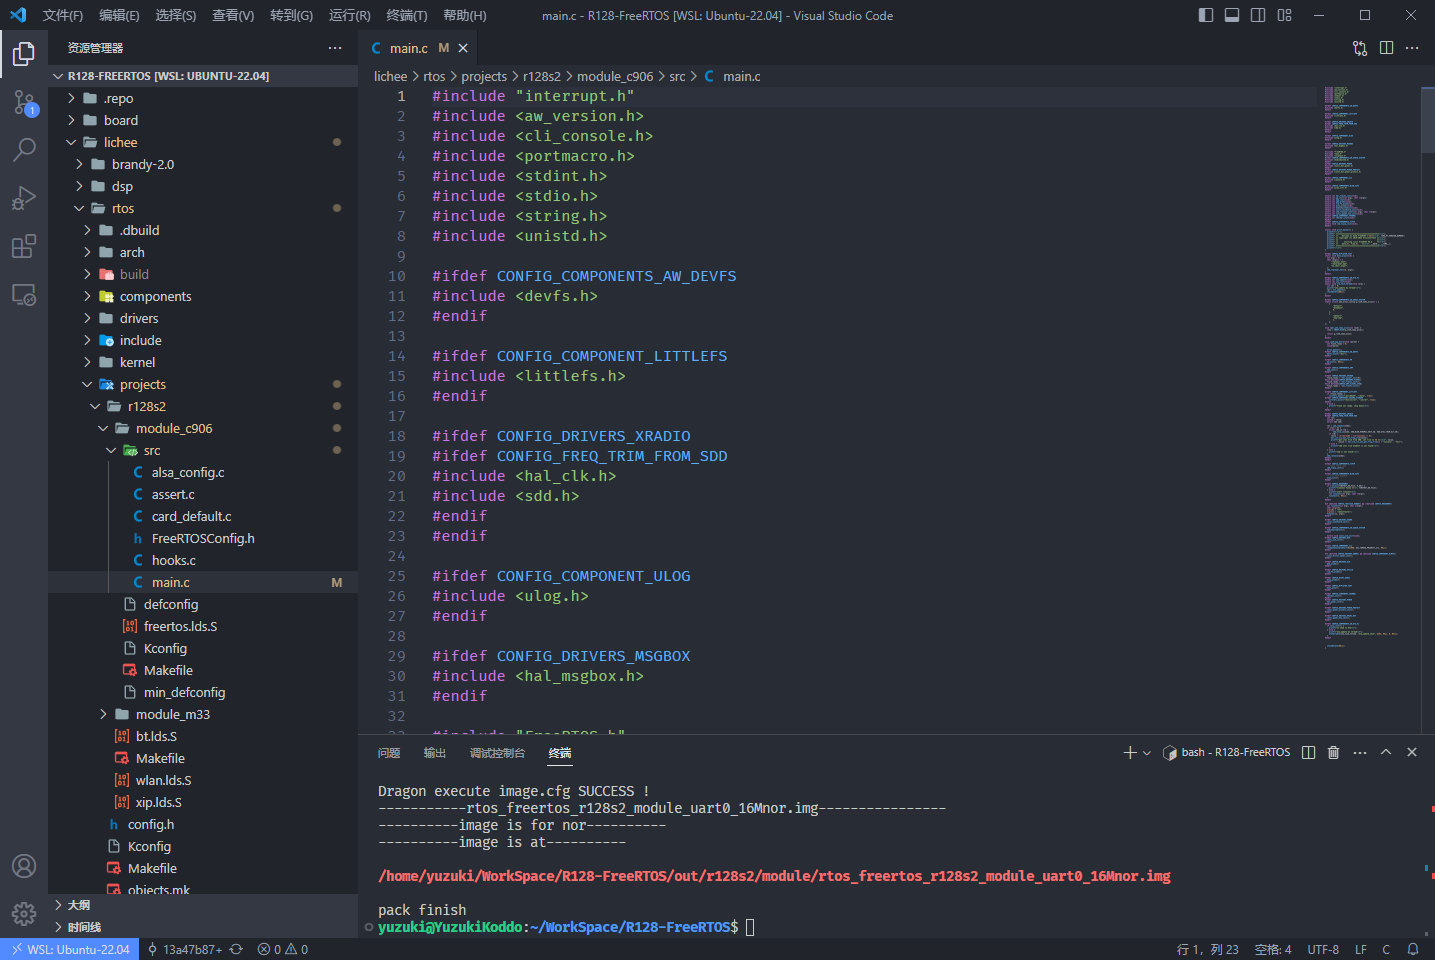 [color=rgba(0, 0, 0, 0.87)] [color=var(--md-typeset-a-color)]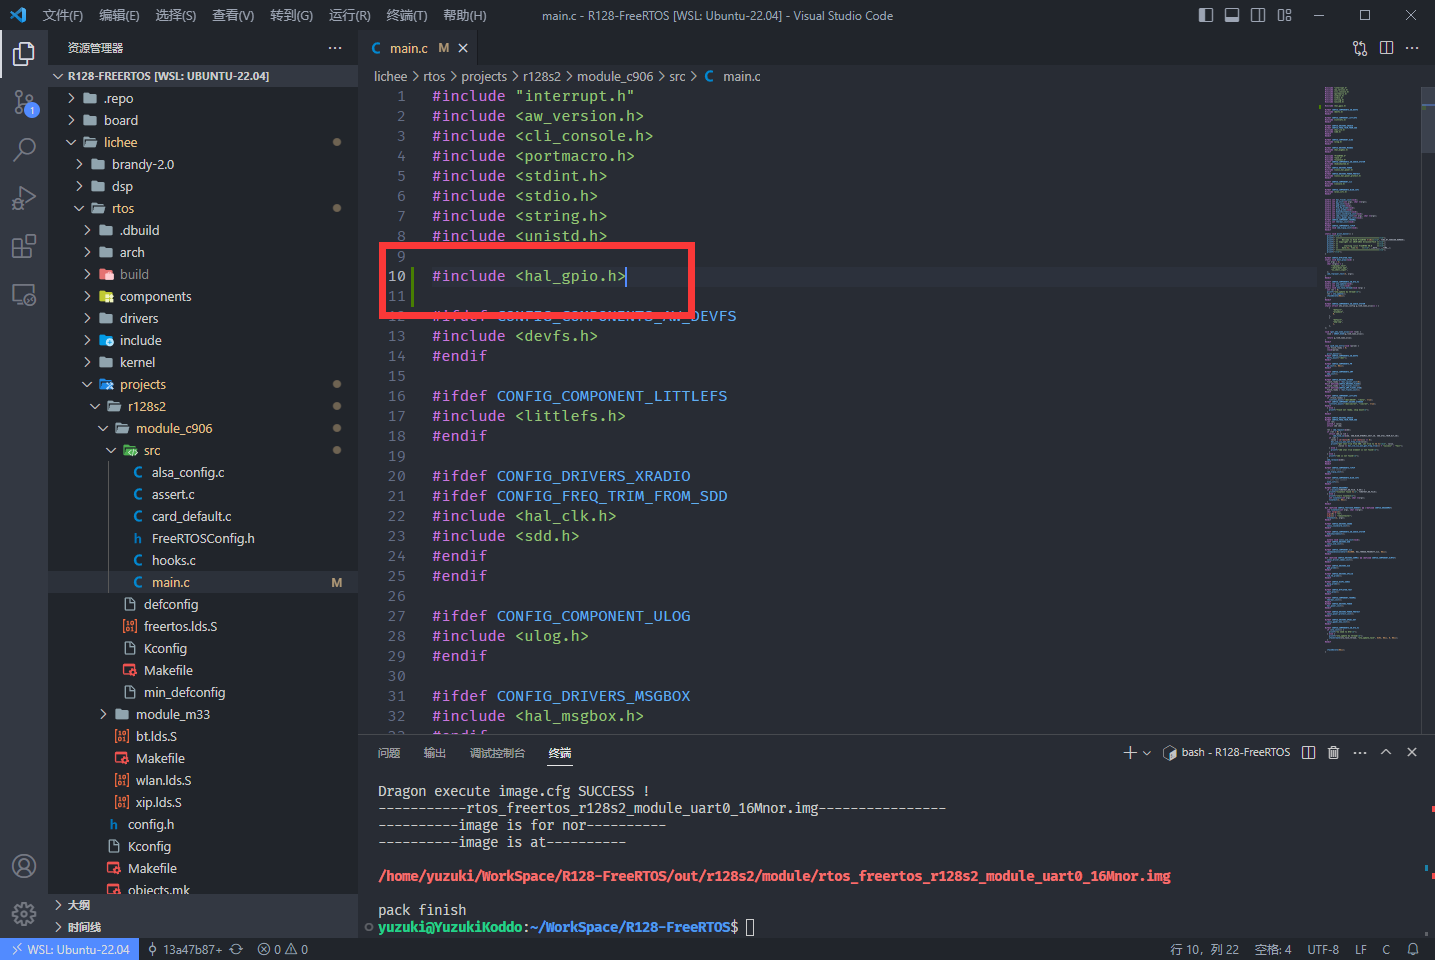 [color=rgba(0, 0, 0, 0.87)]使用 hal_gpio_set_pull(gpio_pin_t pin, gpio_pull_status_t pull); 来设置。这里我们设置 PA25 引脚为默认上拉状态。 code" style="box-sizing: inherit; -webkit-tap-highlight-color: transparent; font-size: inherit; font-family: inherit; background-image: initial; background-position: initial; background-size: initial; background-repeat: initial; background-attachment: initial; background-origin: initial; background-clip: initial; border-width: 0px; border-style: initial; border-color: initial; position: absolute; top: 0.5em; right: 0.5em; z-index: 1; width: 1.5em; height: 1.5em; border-radius: 0.1rem; outline: none; outline-offset: 0.1rem; cursor: pointer; transition: color 0.25s ease 0s;">hal_gpio_set_pull(GPIOA(25), GPIO_PULL_UP);配置 GPIO 输入输出模式[color=rgba(0, 0, 0, 0.87)]使用 hal_gpio_set_direction(gpio_pin_t pin, gpio_direction_t direction); 来设置 GPIO 的输入输出模式,这里配置为输入模式。 code" style="box-sizing: inherit; -webkit-tap-highlight-color: transparent; font-size: inherit; font-family: inherit; background-image: initial; background-position: initial; background-size: initial; background-repeat: initial; background-attachment: initial; background-origin: initial; background-clip: initial; border-width: 0px; border-style: initial; border-color: initial; position: absolute; top: 0.5em; right: 0.5em; z-index: 1; width: 1.5em; height: 1.5em; border-radius: 0.1rem; outline: none; outline-offset: 0.1rem; cursor: pointer; transition: color 0.25s ease 0s;">hal_gpio_set_direction(GPIOA(25), GPIO_DIRECTION_INPUT);配置 GPIO 的 MUX 功能[color=rgba(0, 0, 0, 0.87)]GPIO 通常有多种功能,需要配置 MUX 选择需要的功能,使用 hal_gpio_pinmux_set_function(gpio_pin_t pin, gpio_muxsel_t function_index); 来设置 GPIO 的复用功能,这里配置为GPIO 输入模式(GPIO_MUXSEL_IN) code" style="box-sizing: inherit; -webkit-tap-highlight-color: transparent; font-size: inherit; font-family: inherit; background-image: initial; background-position: initial; background-size: initial; background-repeat: initial; background-attachment: initial; background-origin: initial; background-clip: initial; border-width: 0px; border-style: initial; border-color: initial; position: absolute; top: 0.5em; right: 0.5em; z-index: 1; width: 1.5em; height: 1.5em; border-radius: 0.1rem; outline: none; outline-offset: 0.1rem; cursor: pointer; transition: color 0.25s ease 0s;">hal_gpio_pinmux_set_function(GPIOA(25), GPIO_MUXSEL_IN);获取 GPIO 的电平[color=rgba(0, 0, 0, 0.87)]使用 int hal_gpio_get_data(gpio_pin_t pin, gpio_data_t *data); 来获取 GPIO 的电平,这里配置 PA25 为高电平点亮 LED code" style="box-sizing: inherit; -webkit-tap-highlight-color: transparent; font-size: inherit; font-family: inherit; background-image: initial; background-position: initial; background-size: initial; background-repeat: initial; background-attachment: initial; background-origin: initial; background-clip: initial; border-width: 0px; border-style: initial; border-color: initial; position: absolute; top: 0.5em; right: 0.5em; z-index: 1; width: 1.5em; height: 1.5em; border-radius: 0.1rem; outline: none; outline-offset: 0.1rem; cursor: pointer; transition: color 0.25s ease 0s;">gpio_data_t gpio_data;hal_gpio_get_data(GPIOA(25), GPIO_DATA_HIGH);配置 GPIO 的电平[color=rgba(0, 0, 0, 0.87)]使用 hal_gpio_set_data(gpio_pin_t pin, gpio_data_t data); 来配置 GPIO 的电平,这里配置 PA18 为高电平点亮 LED code" style="box-sizing: inherit; -webkit-tap-highlight-color: transparent; font-size: inherit; font-family: inherit; background-image: initial; background-position: initial; background-size: initial; background-repeat: initial; background-attachment: initial; background-origin: initial; background-clip: initial; border-width: 0px; border-style: initial; border-color: initial; position: absolute; top: 0.5em; right: 0.5em; z-index: 1; width: 1.5em; height: 1.5em; border-radius: 0.1rem; outline: none; outline-offset: 0.1rem; cursor: pointer; transition: color 0.25s ease 0s;">hal_gpio_set_data(GPIOA(18), GPIO_DATA_HIGH);完整的配置 GPIO code" style="box-sizing: inherit; -webkit-tap-highlight-color: transparent; font-size: inherit; font-family: inherit; background-image: initial; background-position: initial; background-size: initial; background-repeat: initial; background-attachment: initial; background-origin: initial; background-clip: initial; border-width: 0px; border-style: initial; border-color: initial; position: absolute; top: 0.5em; right: 0.5em; z-index: 1; width: 1.5em; height: 1.5em; border-radius: 0.1rem; outline: none; outline-offset: 0.1rem; cursor: pointer; transition: color 0.25s ease 0s;">gpio_data_t gpio_data;// 配置按键输入脚为输入,默认拉高hal_gpio_set_pull(GPIOA(25), GPIO_PULL_UP);hal_gpio_set_direction(GPIOA(25), GPIO_DIRECTION_INPUT);hal_gpio_pinmux_set_function(GPIOA(25), GPIO_MUXSEL_IN);// 配置按键输入脚为输出,默认拉高hal_gpio_set_pull(GPIOA(29), GPIO_PULL_UP);hal_gpio_set_direction(GPIOA(29), GPIO_DIRECTION_OUTPUT);hal_gpio_pinmux_set_function(GPIOA(29), GPIO_MUXSEL_OUT);hal_gpio_set_data(GPIOA(29), GPIO_DATA_HIGH);while(1){ hal_gpio_get_data(GPIOA(25), &gpio_data); // 检测按键输入,如果有输入则输出buzz if(gpio_data == GPIO_DATA_LOW){ printf("Key Pressed! And Buzz\n"); hal_gpio_set_data(GPIOA(29), GPIO_DATA_LOW); } else { hal_gpio_set_data(GPIOA(29), GPIO_DATA_HIGH); }}结果[color=rgba(0, 0, 0, 0.87)]编译固件后烧录,按下按键蜂鸣器会发出声音,同时串口输出 Key Pressed! And Buzz
|