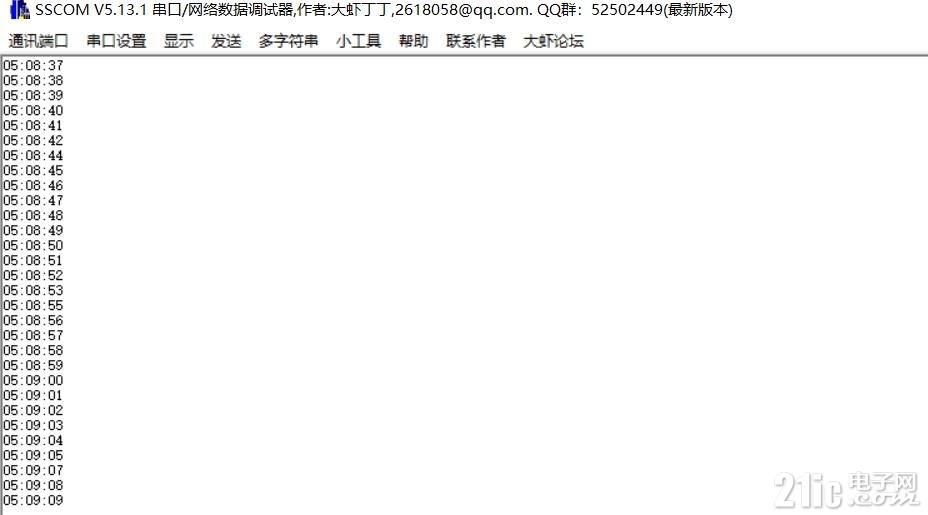
之前使用易码魔盒测试了移植DS1302,效果还可以的。既然已经连接好了模块了,还是看看直接IO口驱动DS1302。这里移植的是51单片机的测试代码,看看51代码和新定义代码兼容性怎么样?
还是在之前的生成的工程文件上进行测试。
就是把生成的DS1302文件删除掉。加入要使用的DS1302库文件。
首先是要配置IO口为输出。
使用宏定义配置三个口。
- #define RST P53
- #define SCLK P55
- #define DSIO P54
- GPIO_Init(GPIO5, GPIO_PIN_4,GPIO_MODE_OUT_PP);
- GPIO_Init(GPIO5, GPIO_PIN_5,GPIO_MODE_OUT_PP);
- GPIO_Init(GPIO5, GPIO_PIN_3,GPIO_MODE_OUT_PP);
这个是写入数据的时候。
- void Ds1302Write(uchar addr,uchar dat)
- { uint n;
- GPIO_Init(GPIO5, GPIO_PIN_4,GPIO_MODE_OUT_PP);
- RST=0;
- _nop_();
- _nop_();
- _nop_();
- SCLK=0;
- RST=1;
- _nop_();
- _nop_();
- _nop_();
- for(n=0; n<8; n++)
- {
- DSIO=addr&0x01;
- addr>>=1;
- SCLK=1;
- _nop_();
- _nop_();
- _nop_();
- SCLK=0;
- _nop_();
- _nop_();
- _nop_();
- }
- for(n=0; n<8; n++)
- {
- DSIO=dat&0x01;
- dat>>=1;
- SCLK=1;
- _nop_();
- _nop_();
- _nop_();
- SCLK=0;
- _nop_();
- _nop_();
- _nop_();
- }
- RST=0;
- _nop_();
- _nop_();
- _nop_();
- }
- uchar Ds1302Read(uchar addr)
- {
- uchar dat,dat1,i;
- RST=0;
- _nop_();
- SCLK=0;
- _nop_();
- RST=1;
- _nop_();
- for(i=0; i<8; i++)
- {
- DSIO=addr&0x01;
- addr>>=1;
- SCLK=1;
- _nop_();
- SCLK=0;
- _nop_();
- }
- GPIO_Init(GPIO5, GPIO_PIN_4,GPIO_MODE_IN_PU);
- for(i=0; i<8; i++)
- {
- dat1=DSIO;
- dat=(dat>>1)|(dat1<<7);
- SCLK=1;
- _nop_();
- SCLK=0;
- _nop_();
- }
- GPIO_Init(GPIO5, GPIO_PIN_4,GPIO_MODE_OUT_PP);
- RST=0; //复位稳定程序
- _nop_();
- SCLK = 1;
- _nop_();
- DSIO = 0;
- _nop_();
- DSIO = 1;
- _nop_();
- return dat;
- }
- Ds1302ReadTime();
- send_one(TIME[2]/16+'0');
- send_one(TIME[2]%16+'0');
- send_one(':');
- send_one(TIME[1]/16+'0');
- send_one(TIME[1]%16+'0');
- send_one(':');
- send_one(TIME[0]/16+'0');
- send_one(TIME[0]%16+'0');
- send_one('\r');
- send_one('\n');
- delay(500);

这个附上源代码
 User.rar
(1.38 KB, 下载次数: 2)

|